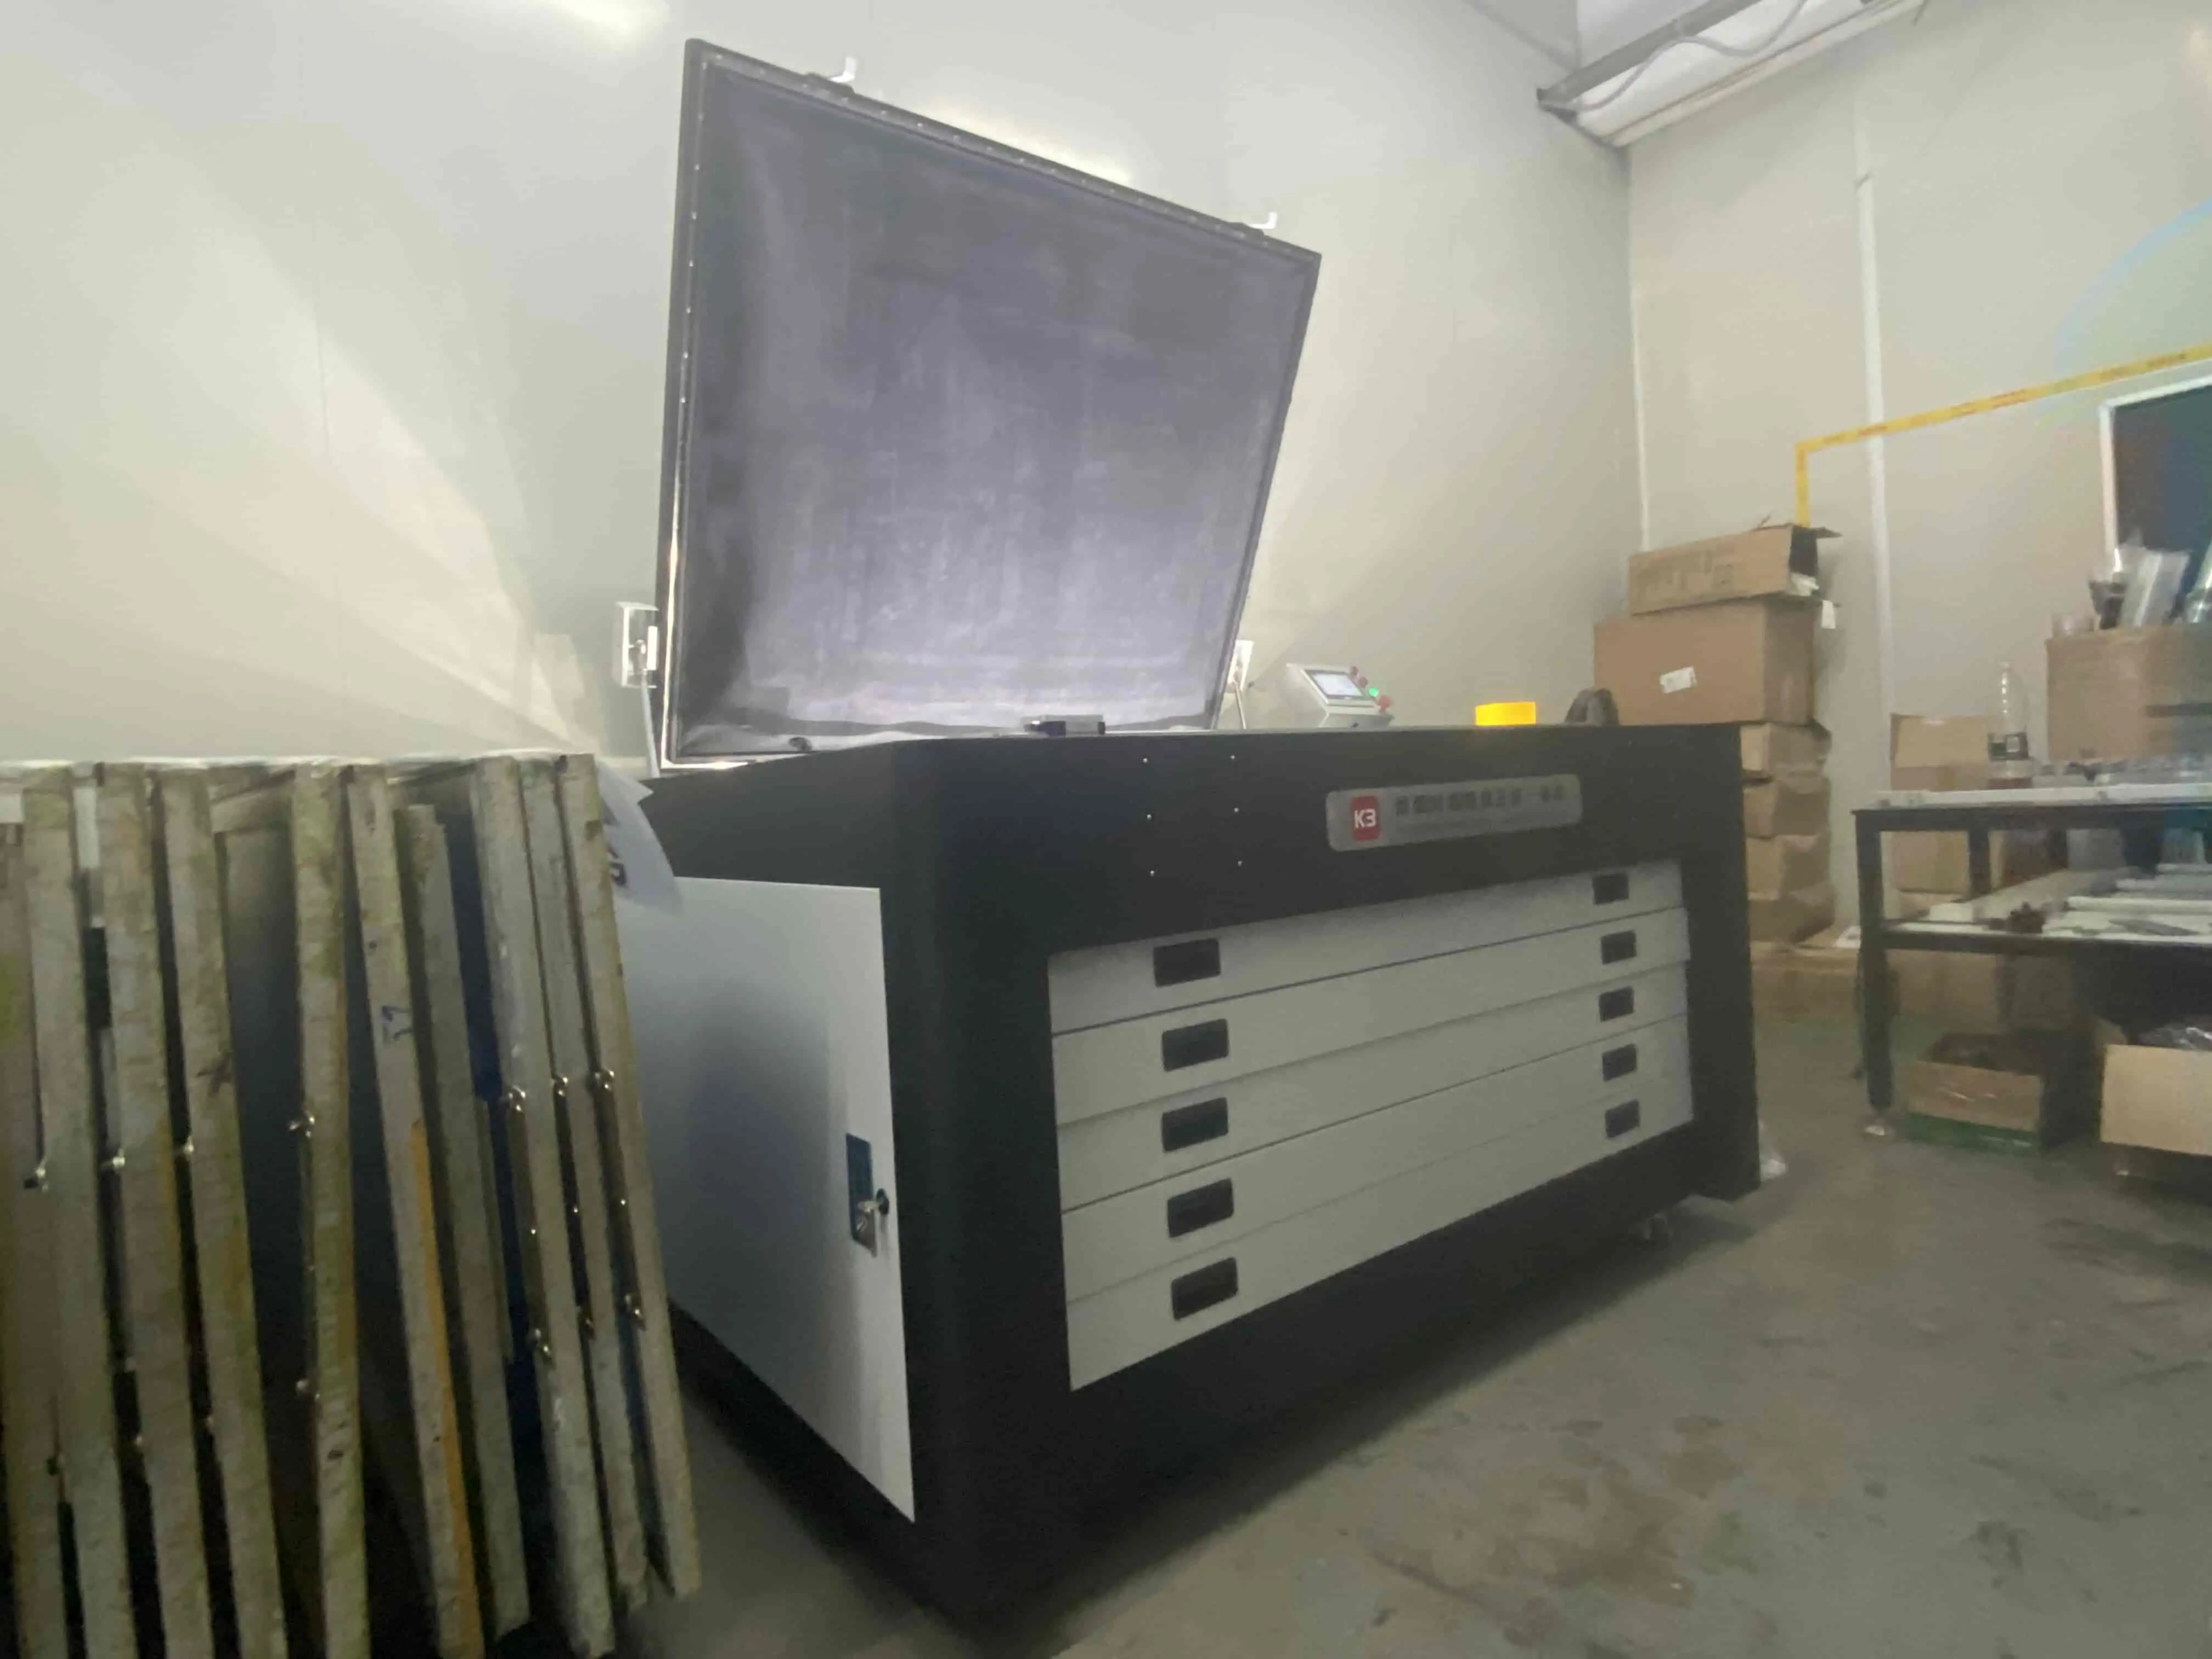
Using the K3 Table Screen Printer can bring efficiency and precision to your printing projects. Below is a detailed step-by-step guide to help you get the most out of this state-of-the-art printing machine.
Step 2: Making the screen plate
Step 3: Lay the substrate on the tabletop work table.
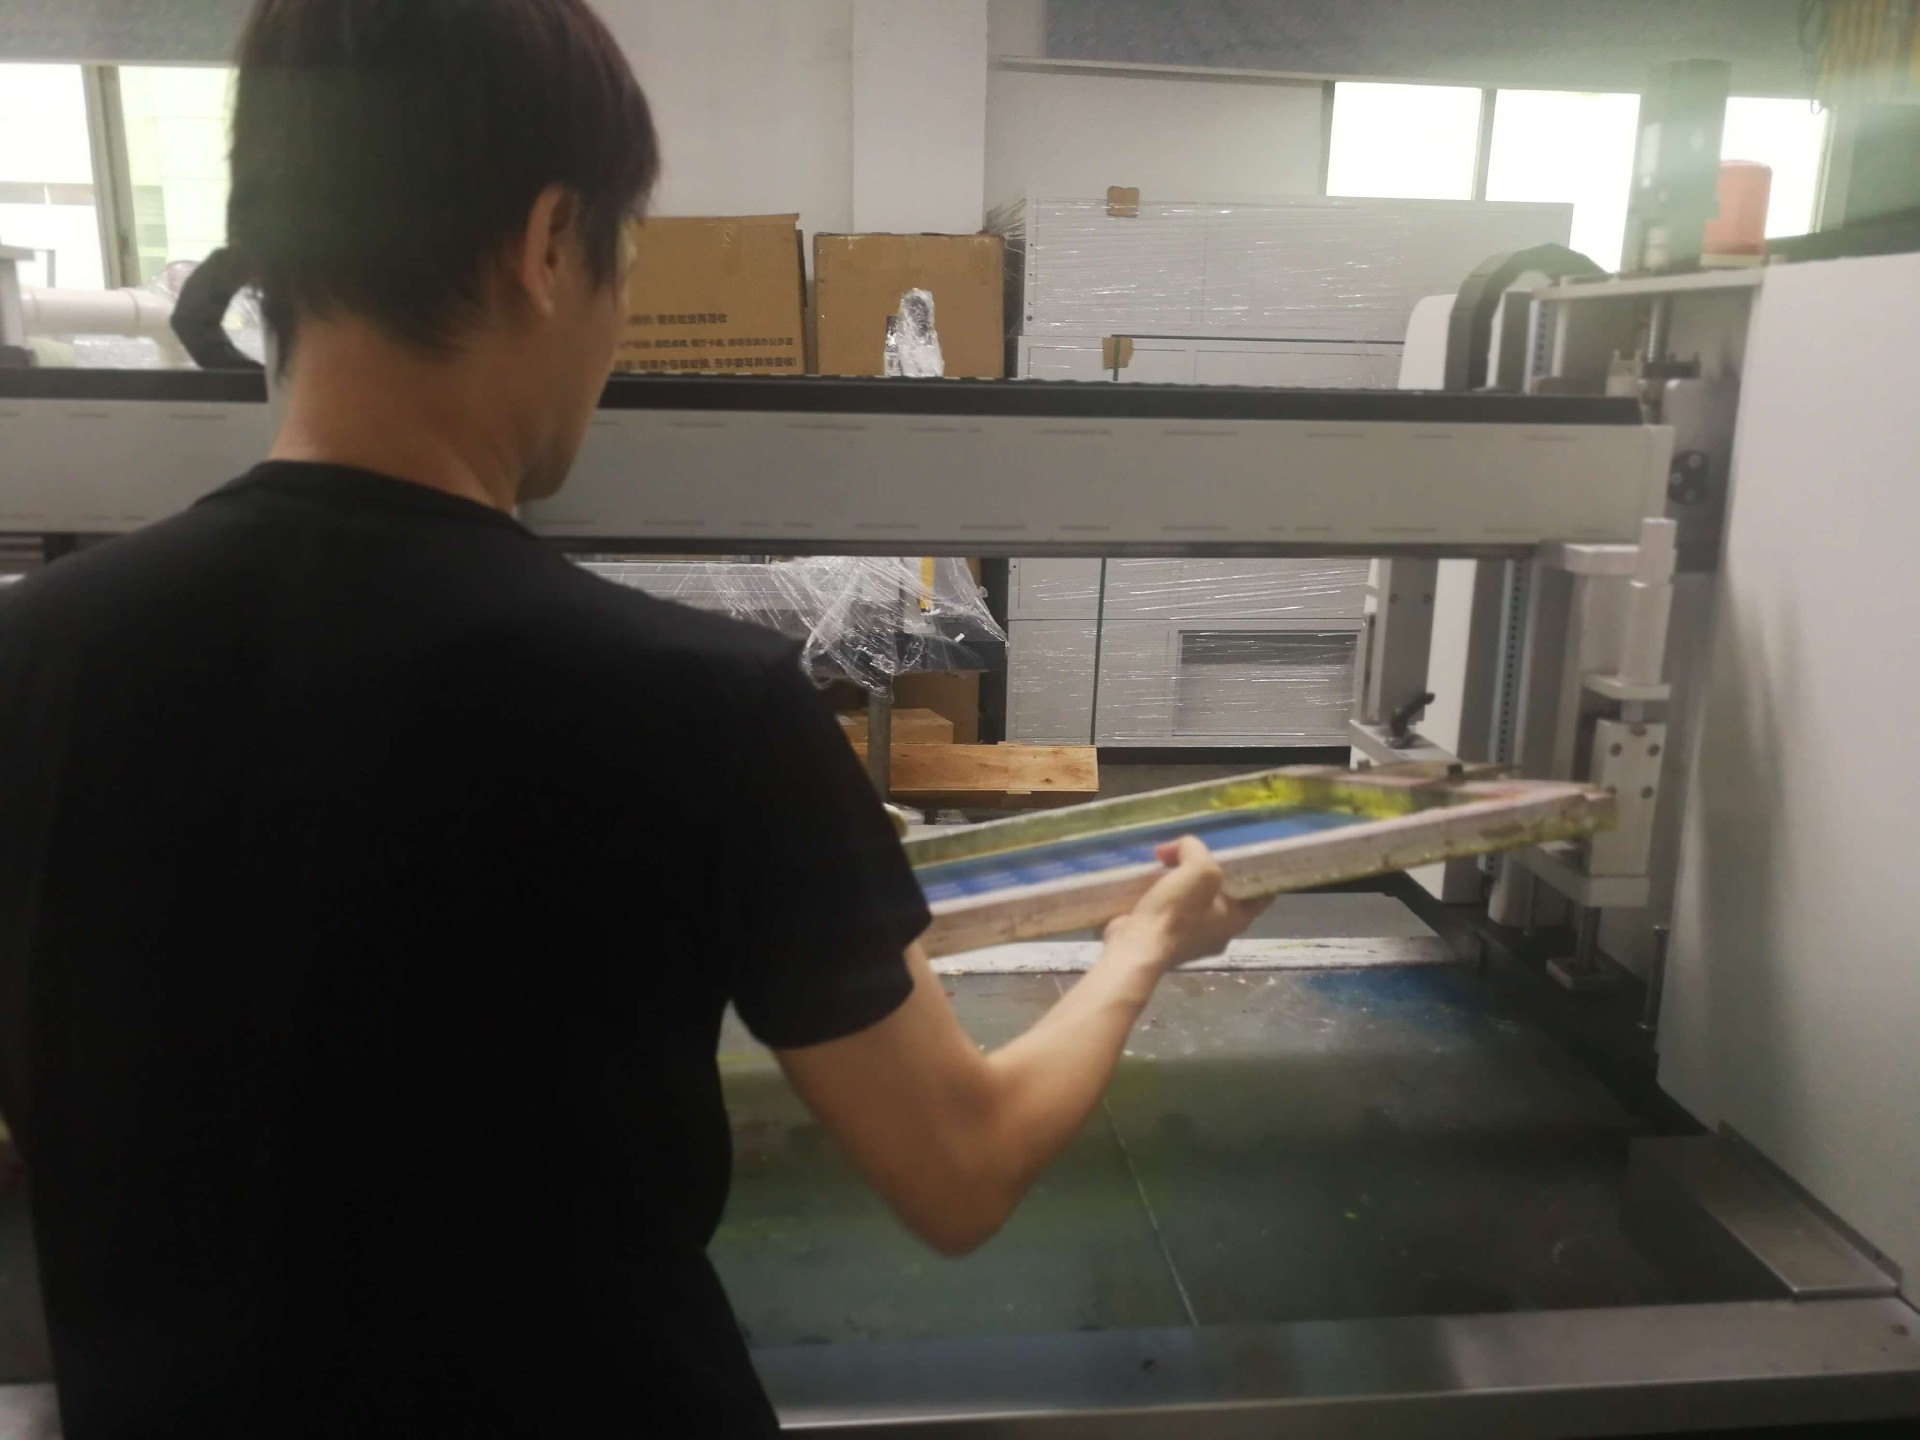
Step 4: Attach the screen printing plate to the K3 tabletop printing machine.
Step 7: Pour the printing material onto the screen plate
First, you must determine the pattern you want to print. This can be any design, including text, graphics, or images. When choosing a pattern, make sure it is suitable for screen printing requirements, i.e., it has clear outlines and the right resolution.

Next, a screen plate is made from the selected pattern. This process usually includes the following steps:
1. preparing the frame: selecting a frame that is suitable for the size of the pattern and tightening the screen onto the frame.
2. Coating the photopolymer: A layer of photopolymer is applied to the screen to ensure even coverage.
3. Exposure: Cover the pattern with the photopolymerized screen and expose it through the exposure machine.
4. Rinsing: The exposed screen is rinsed with water and the unexposed portion of the photopolymer is washed away to form the pattern.
Lay the substrate you want to print on (e.g. fabric, transfer film or paper, etc.) flat on the table of the K3 tabletop printer. Make sure the material is flat and wrinkle-free to ensure printing results.

Attach the screen printing plate to the frame fixture of the K3 Desktop Printer. Ensure that the screen printing plate is mounted securely to prevent it from moving during the printing process.

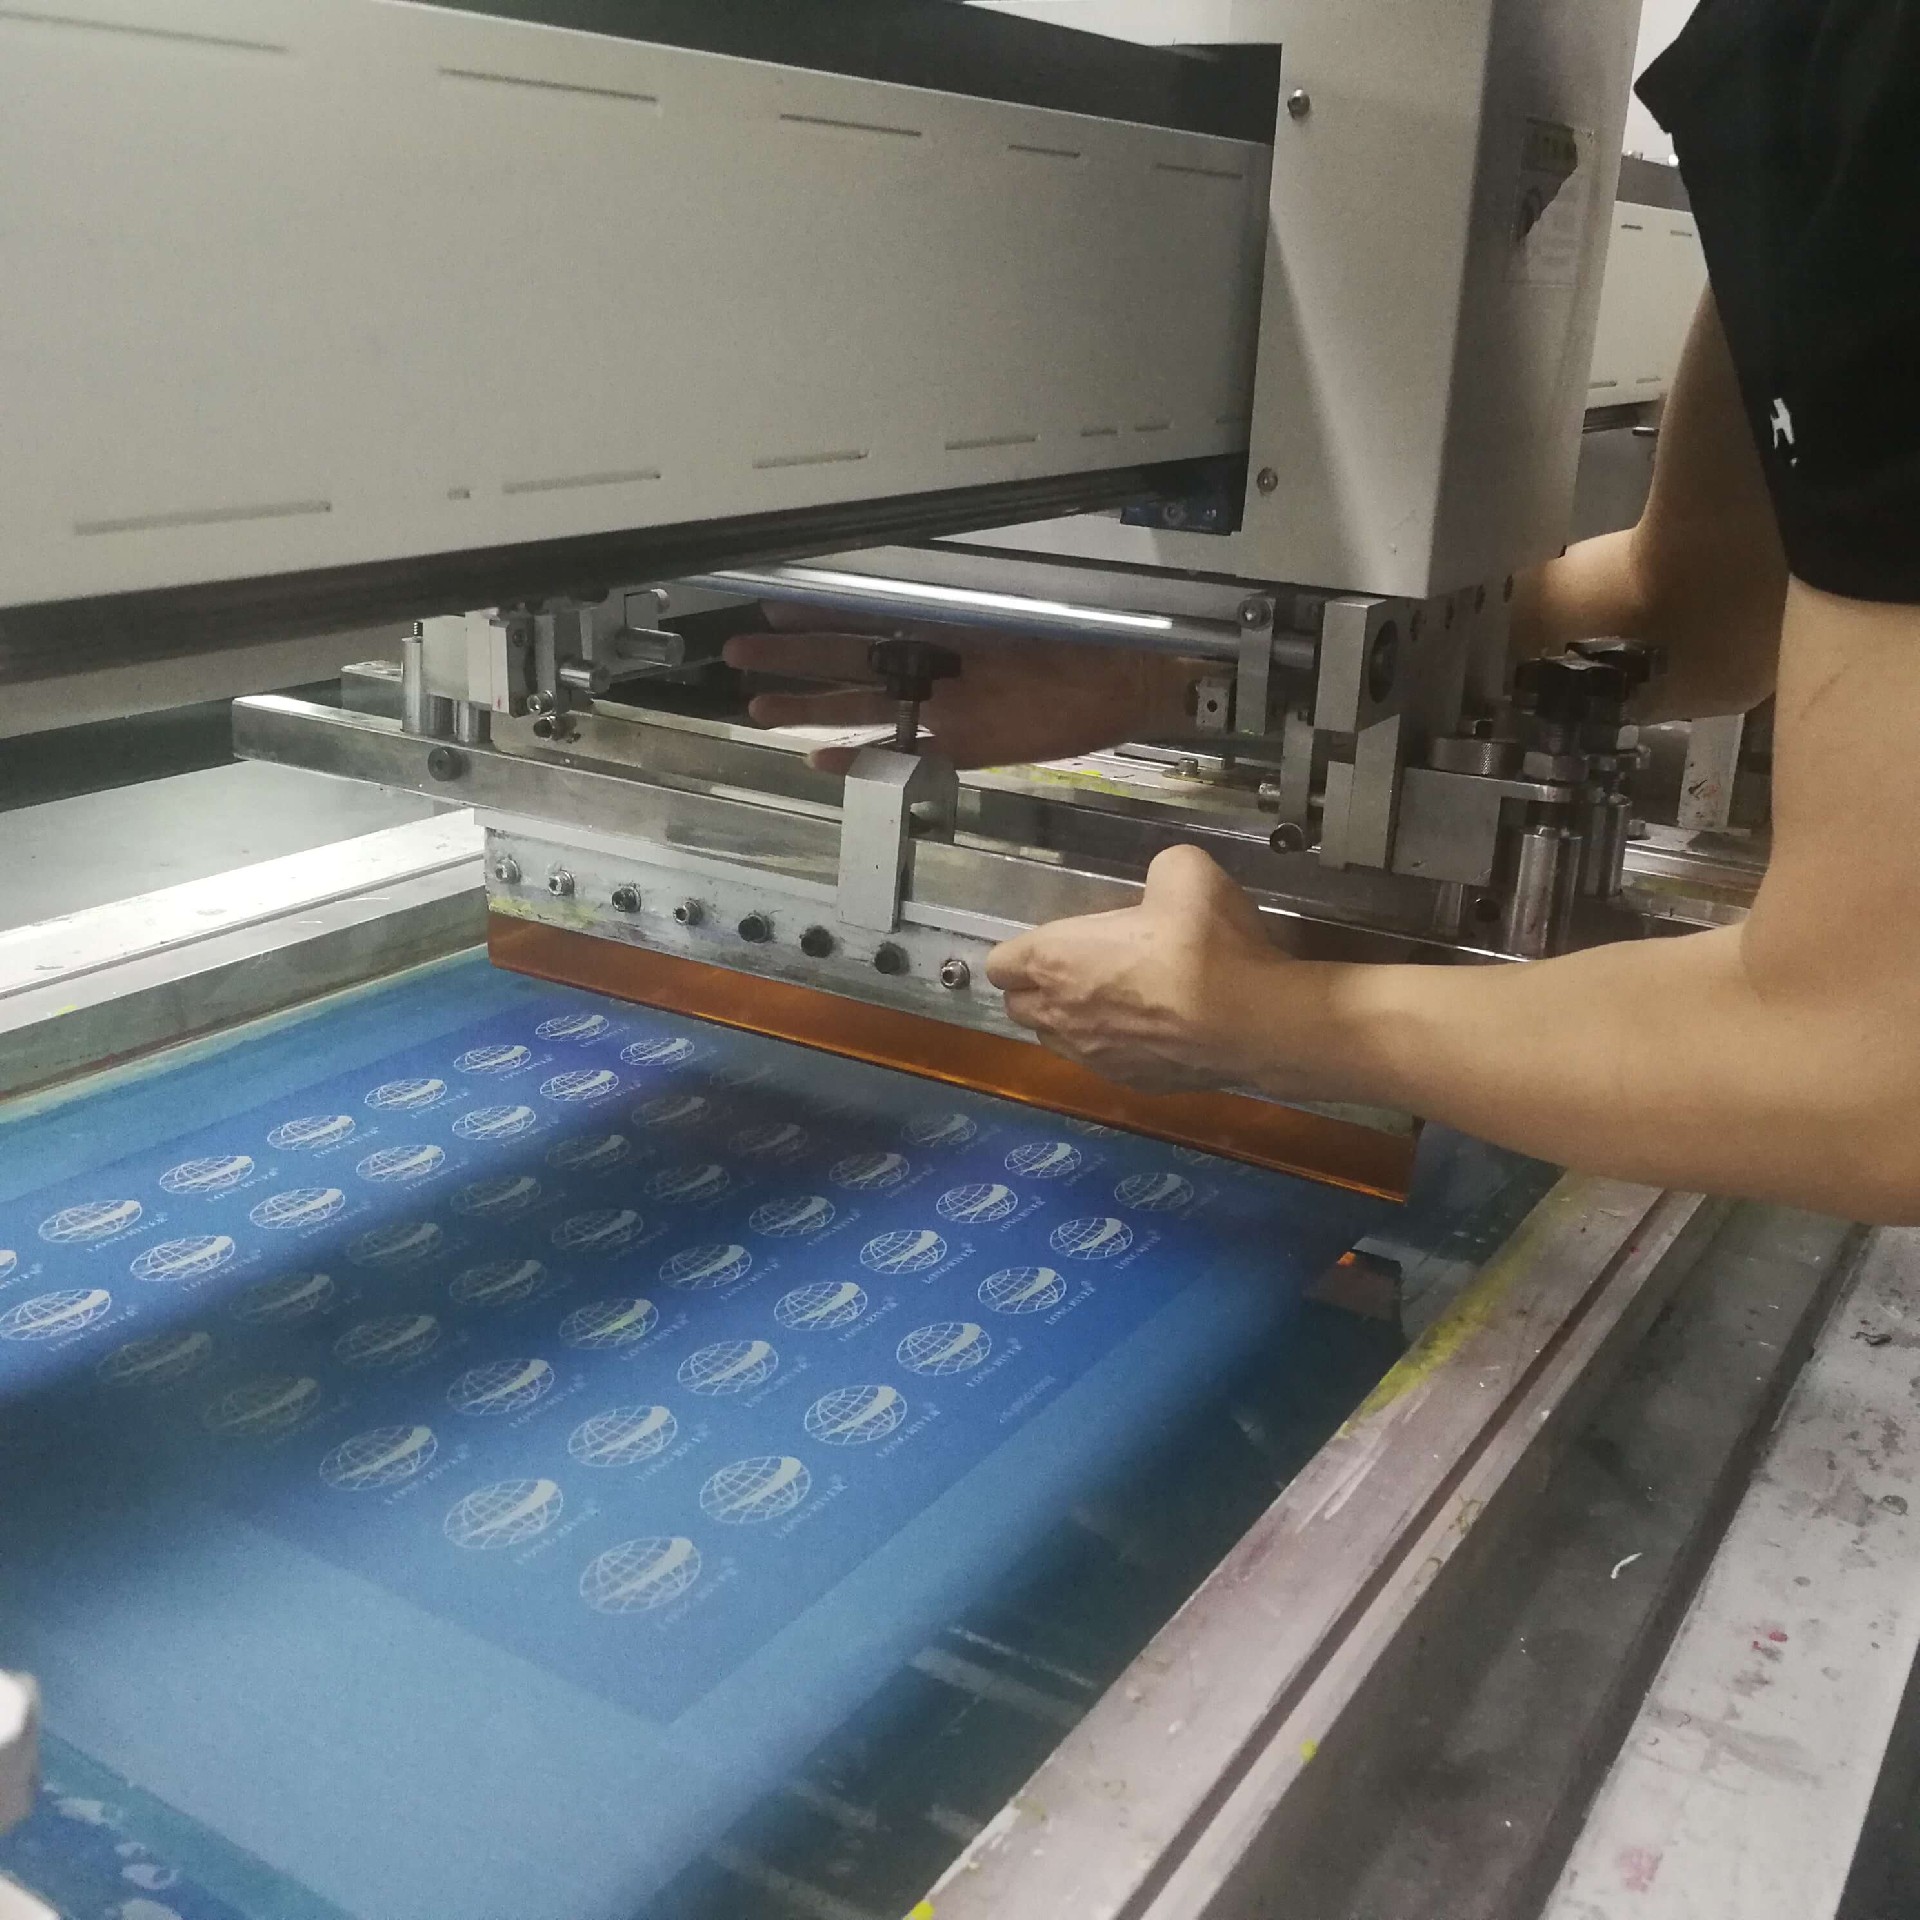
Install the scraper on the K3 desktop printer and set the appropriate angle. The angle and quality of the squeegee will affect the distribution of ink and the clarity of the pattern, so extra care should be taken when selecting and installing it.

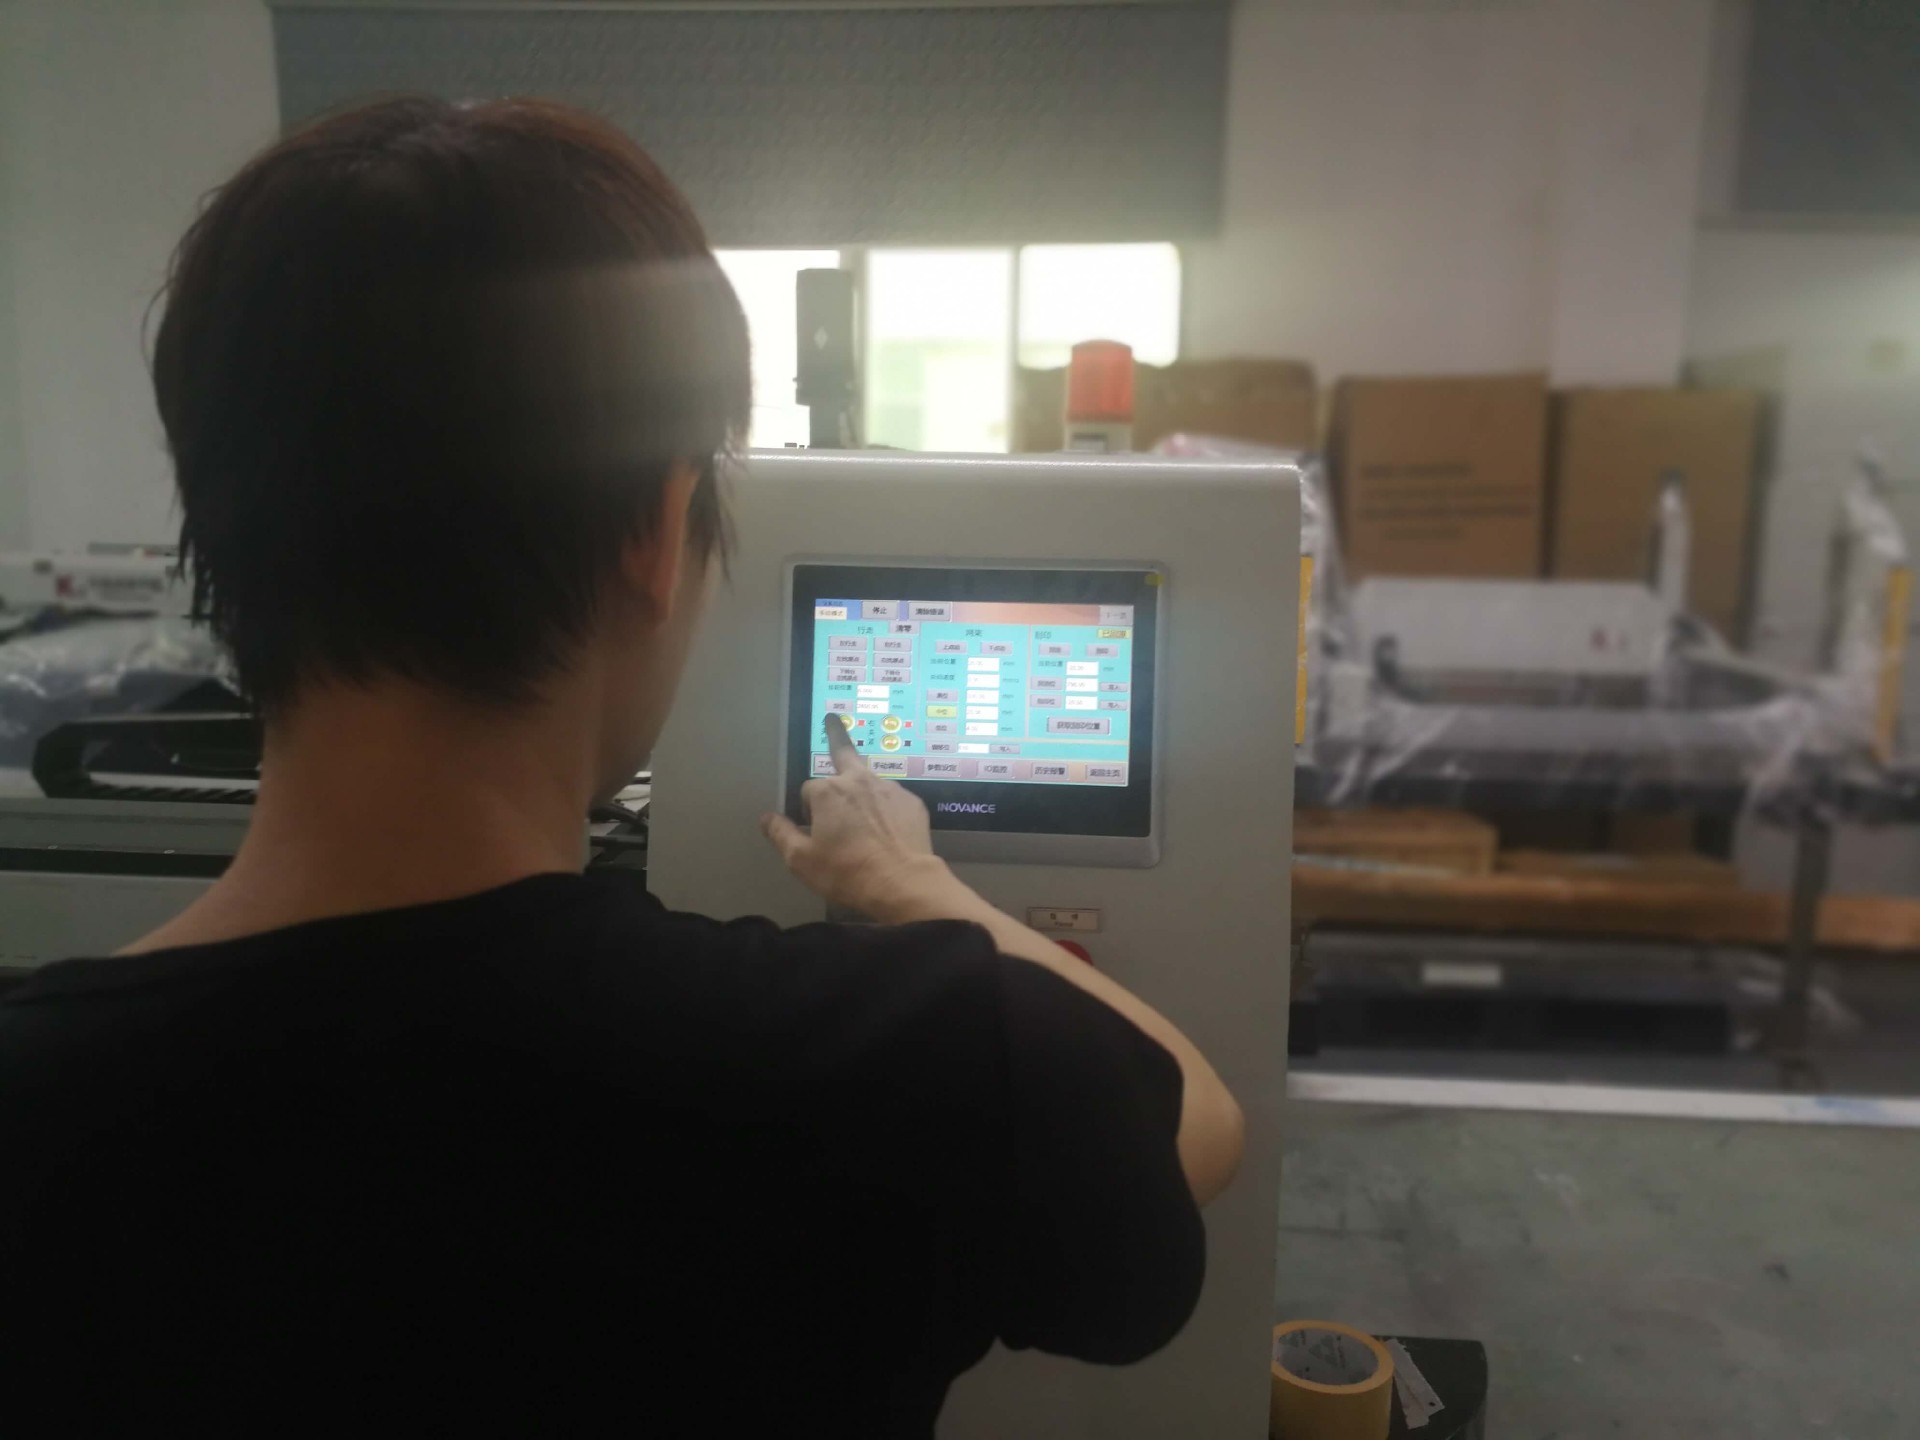
Set the squeegee angle and squeegee pressure through the touchscreen interface of the K3 tabletop printer. Adjust these parameters to achieve the best printing results according to the needs of different materials and patterns. At the same time, you can also set other related parameters, such as printing speed, squeegee movement path, and so on.
Pour the appropriate amount of printing material (such as paste or ink) onto the top of the screen plate. Depending on the complexity of the pattern and the color requirements, you can choose the appropriate type and color of the printing material.
Once everything is ready, start the K3 table printing machine to begin the printing process. The machine will automatically control the movement of the squeegee on the screen to print the ink evenly onto the substrate material. After completing a print run, you can check the printing results and make parameter adjustments if necessary.
By following these steps, you can use the K3 Table Screen Printing Machine to complete a variety of printing tasks efficiently. With its excellent performance and ease of use, this machine can help you achieve high-quality printing results and bring great convenience and enhancement to your production process.
Here, you can submit your questions and needs online, we will contact you as soon as possible or direct online reply!
If a response is urgently needed, please call 00864009969505
 WeChat